Redesign of DB0BUL in 2019
Inhaltsverzeichnis
1 Scope
DB0BUL will see a major redesign this year. It will sum up several changes and innovations that have come over the past year:
- My insight that there is a big difference between SD cards with SLC, MLC and TLC technology, and that cheap SD cards will destroy many hours of work.
- Receiving Es'HailSat
- The redesign of the connection between the DB0BUL and my parents' house, away from a Mikrotik RB433 to a standard 60GHz connection
2 Node History
2.1 Intel Atom
Historically, DB0BUL was an Intel Atom computer that still consumed a lot of power.
The layout of the first stage of the project is described here: The Echolink Node DB0BUL
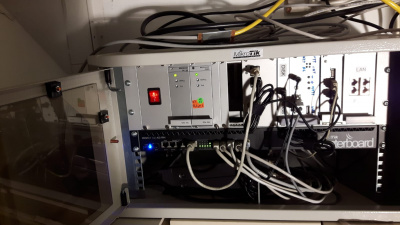
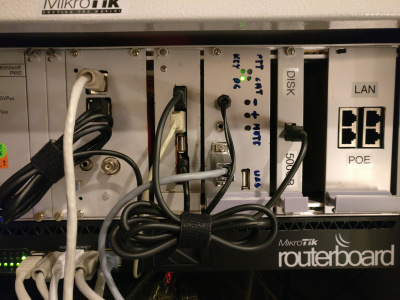
2.2 Redesign as a 19" rack
The wish to save power and costs resulted in the creation of a 19" rack with a Seagate DockStar based computer. It was the first kind of freely avalable embedded computer for a reasonable price that could be operated ob a Linux basis.
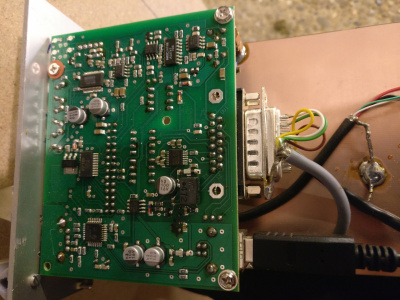
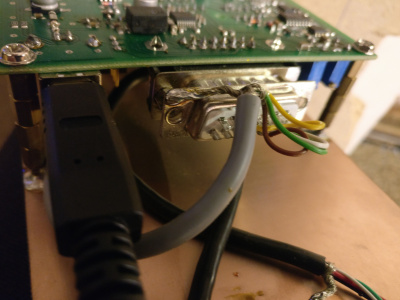
And also the sound card / Transceiver interface made it into a 19" rack based component:
2.3 Upgrade to a Raspberry Pi
After about 10 years of seamless operation, the node failed for an unknown reason, so there was an upgrade to a RaspberryPi based solution.
Unfortunately it didn't work for a long time, because I used standard off the shelf SD cards, probably TLC kind of devices. I promise you, I will never do that again!!!!
2.4 Upgrade to Odroid XU4Q
The Upgrade to an Odroid XU4Q was motivated because of my Es'HailSat Experiment: I wanted to provide a reception possibility for EsHailSat and make it available over our HAMNET node.
- The device itself is powered passively, so no fan: https://www.hardkernel.com/shop/odroid-xu4q-special-price/
- The device has 8 cores, so plenty of computing power. Since it is a bigLITTLE architecture, it will consume not that much power but be able to scale well if requirements rise accordingly.
- Generally it consumes quite a lot of power: 4A at 5V. This power requirement will lead to the exchange of one of the power supplies in my rack. Though, this is not a problem because the link to the main building will be powered through the RB2011.
- I am using an eMMC card with 16 GB and Ubuntu 18 preinstalled.
Details are here: https://magazine.odroid.com/odroid-xu4
I am using the pre-installed image as it comes, do some upgrades to the installed OS, but not invest that much time. The device will finaly have a fixed IP address inside of HAMNET:
https://hamnetdb.net/?q=44.225.41.35
and will be reachable as
http://db0bul.ampr.org
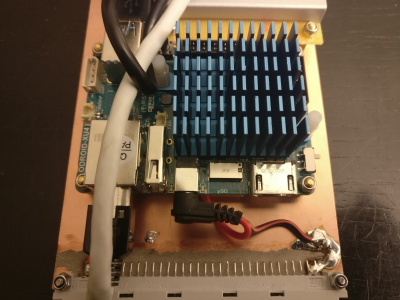
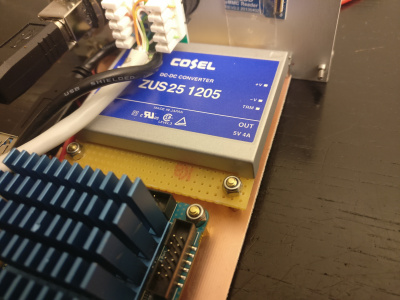
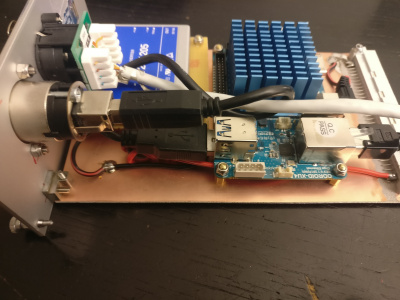
Powering this little device is qHere is the board that carries the mini computeruite challenging: Using a 2A standard USB PSU will not do, the power supply that comes with it is rated at 4A, so I decided to use some bigger DC converter to attach the computer to my 12V rail.
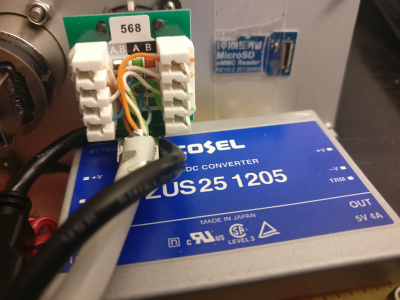
The DC converter I used is a Cosel ZUS251205 DC DC converter that is rated at 25 Watts (5 Amps @5V) and can work with an input voltage of 9-18 Volts. Here are the documents. I decided to host them because the converter is end of life at Cosel.
2.5 The Audio Interface
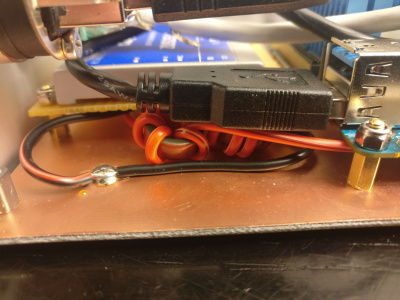
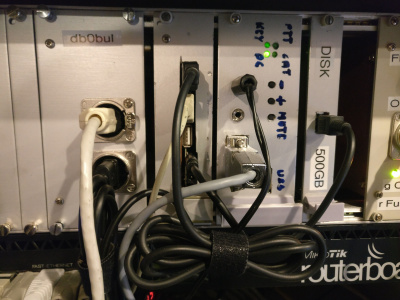
Note that I have just used one single USB3 connection to the front panel. In the moment I just have a USB 2.0 hub built in from mthe last hardware interation, but since the rack is so modular, it will be super easy to replace it with a USB 3.0 kind of counterpart.
I guess I will try this one...: https://www.amazon.de/dp/B00JX1ZS5O
Since the standard interface to the front is USB, I am also using the other standard USB devices such as the transceiver interface for Echolink.
Together with the ODroid and in comparison to the Raspberry Pi Platform as decribed [[Upgrade to my SvxLink Node|HERE], the audio architecture is a little different, but the interface to the transceiver interface is identical:
root@db0bul:~# aplay -l
**** List of PLAYBACK Hardware Devices ****
card 0: OdroidXU4 [Odroid-XU4], device 0: Primary multicodec-0 []
  Subdevices: 1/1
  Subdevice #0: subdevice #0
card 1: CODEC [USB Audio CODEC], device 0: USB Audio [USB Audio]
  Subdevices: 1/1
  Subdevice #0: subdevice #0
I will be using hw:1,0 also in this case.
And the following pages are still helpful:
- https://www.darc-coburg.de/modules/wiwimod/index.php?page=FUNKAMATEUR-Sounkarteninterface
- http://www.box73.de/catalog/pdf/BX-120.pdf Baumappe
2.6 Link Upgrade to Mikrotik 60 GHz
The old Mikrotik RB411 somehow went End-Of-Life, and since it originally used to serve as the main link to DB0MHB, which is being served by another solution for almost 5 years now, it was time to remove it and replace it anyway.
The old base, a Mikrotik Metal 5SHPn, also went out of service and since the Metal is a good device for all sorts of fun, it will be used for new things in the future.
The replacement is a Mikrotik wAP60G bridge, capable of transferring 1 Gigabit / second, which is a tremendous bandwidth.
https://mikrotik.com/product/wap_60g
Allegedly it works also for distances up to 200 meters, but I didn't try that. For now I am very content.
It is interesting that the devices can also measure the distance and the exact angle from each other. Well, the 6mm band has a wavelength that allows for some mighty precision!
2.7 Connection between Odroid XU4 and USRP2
This works fine! I am connecting these two little boxes through the Mikrotik RB2011UiAS-RM, on the first five ports, where the RB2011 does gigabit. I want to process the stream from the USRP really fast.
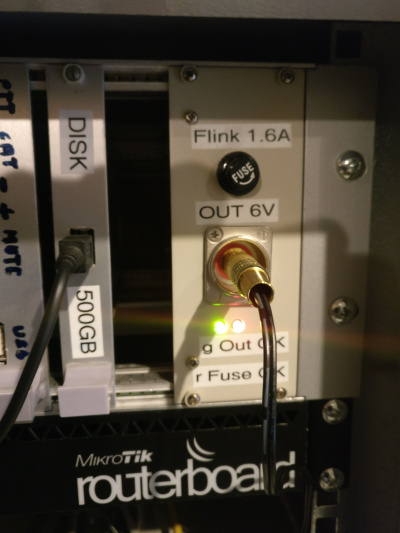
In order to feed power into the USRP, I built an injector (photo below). The backplane gives me 15 Volts, but the USRP needs 6 Volts, so I used a highly overdimensioned DC converter (capable of doing 10 amps), together with a fuse and some control LEDs.
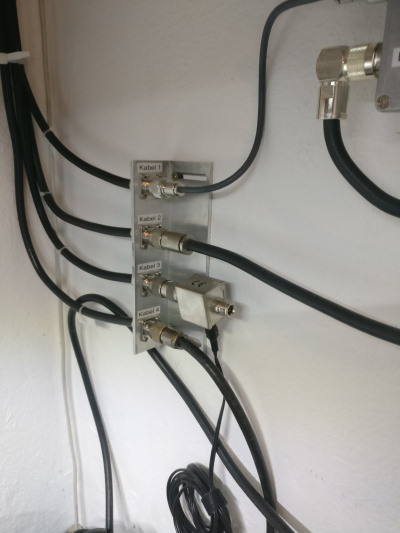
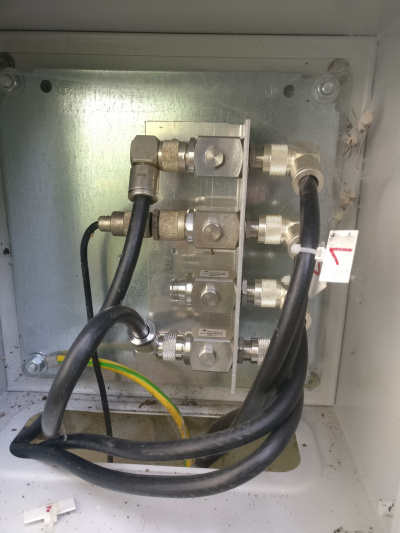
2.8 Coax Terminals
Solid coax lines need good terminals. And a good overvoltage protection.
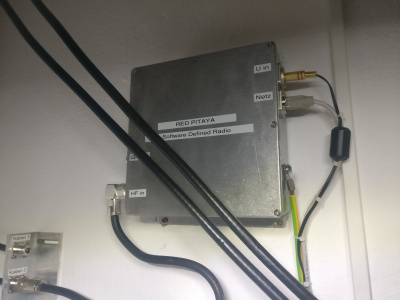
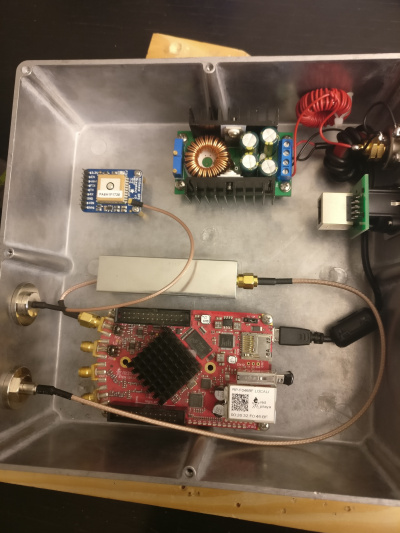
2.9 My Remote receiver station
My remote receiver finaly went into operation. It's my Red Pitaya 10 Bit with PavelDemin's SDR Transceiver code enabled permanently. See here: Red Pitaya Remote Receiver Station
3 Images
3.1 Power Supplys
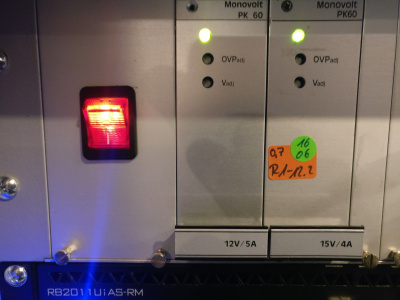
The BICC Vera Monovolts have proven to be extremely robust and super reliable. They're not cheap, but good.
