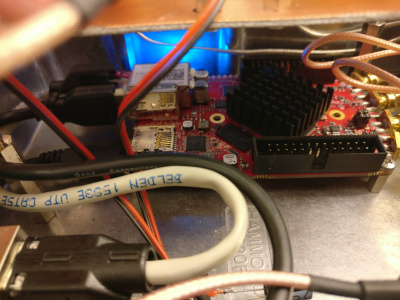
Red Pitaya Remote Receiver Station
Inhaltsverzeichnis
1 Project Scope
The goal of this project is to set up a remote controlled shortwave receiver station that is connectable via HAMNET.
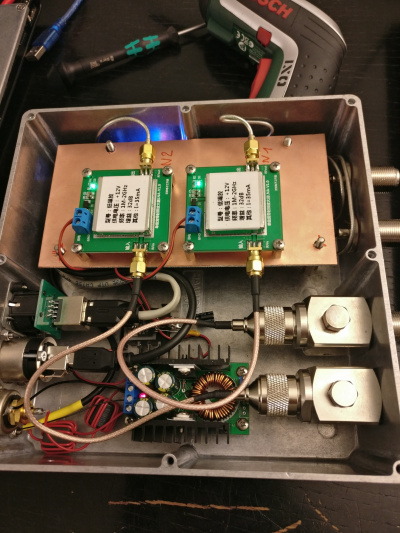
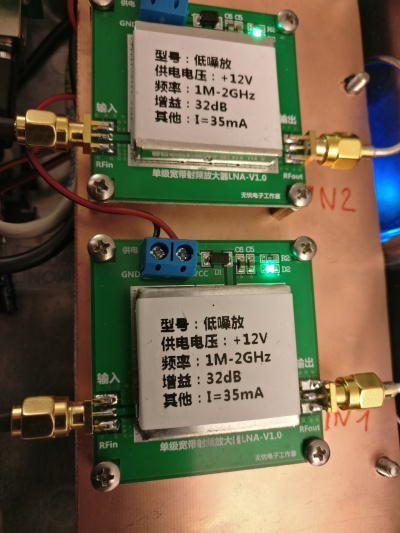
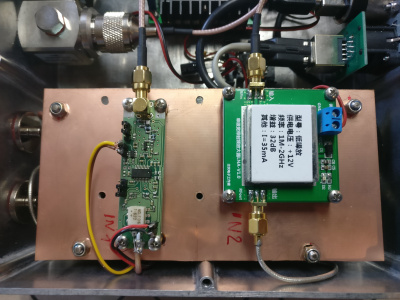
First, I installed two Chinese wideband preamplifiers. Later I heard that there was a special kit from Box73 / FUNKAMATEUR that did the job much better. My observation with the Chinese preamp was that the input of the SDR was highly overloaded, so I needed one with an adjustable amplification. Please check the instruction: http://www.box73.de/download/bausaetze/BZ-100.pdf
Once deployed, I understood that I needed to install Pavel Demon's firmware. Since the deployment at DB0MHB is a little out of reach, I needed to log into my Red Pitaya and make sure that the installation files go to the right place. I decided to build a deb package so that this job was easier.
The final goal is to have a recording / monitoring receiver that can fully be remote-controlled. The Pitaya can be switched on and off with the remote control switch described here: A relay box for control from Linux and A remote Ethernet switch for my relay box
2 Component List
- Aluminium diecast case HAMMOND 1550F: 50 €
- Red Pitaya: 235 €
- Neutrik socket Cinch (power supply): 10 €
- Neutrik socket USB thru: 10 €
- Neutrik socket Ethernet thru: 10 €
- 25cm USB cable: 2 €
- 2x Telegärtner Lightning protection: 2x 50 €
- 2x pigtail N-SMA: 5 €
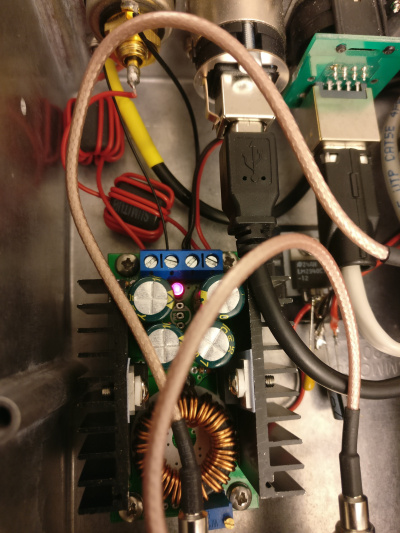
- DC DC Converter: 10 €
- Chinese wideband preamplifier: 10 €
- FUNKAMATEUR preamplifier specially designed for Red Pitaya: 50 €
- Teflon cable with SMA plug: 5 €
- Semi Rigid SMA/SMA: 5 €
- Voltage Limiter IC for 12V: 3 €
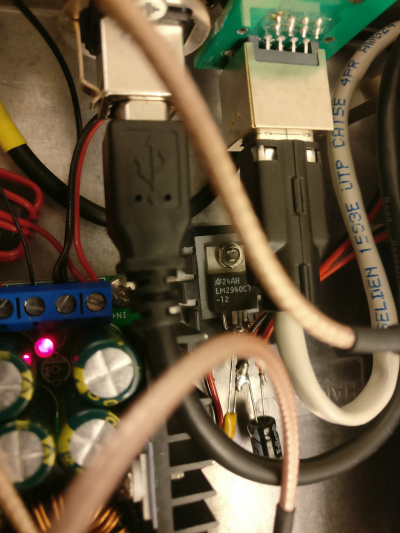
- LM2940L-12 ensuring that possible input voltage spikes will not damage my preamp
- 2x Ferrite Core: 3 €
- 2x N socket with pigtail: 10 €
- 1 PCB: 1 €
- M4 spacers: 5 €
- M3 spacers: 5 €
Overall total: 529 €
3 Software Stuff
3.1 Getting the interface right
Firstly, unless there is some special configuration on the Pitaya, you should be able to detect ot from another machine.
In our case, we are using a Raspberry Pi for OpenWebRX and the Pitaya for receiving.
This is some background info, but not applicable in our case since we are using the Soapy toola below...:
http://pavel-demin.github.io/red-pitaya-notes/sdr-receiver/
So we needed to implement this on the Raspberry Pi:
#Installing SoapySDR:
git clone https://github.com/pothosware/SoapySDR
cd SoapySDR
mkdir build
cd build
cmake ..
make
sudo make install
sudo ldconfig
cd ..
#Installing rx_tools:
git clone https://github.com/rxseger/rx_tools
cd rx_tools
mkdir build
cd build
cmake ..
make
sudo make install
sudo ldconfig
cd ..
git clone https://github.com/pothosware/SoapyRedPitaya.git
cd SoapyRedPitaya
mkdir build
cd build
cmake ..
make
sudo make install
git clone https://github.com/pothosware/SoapyRemote.git
cd SoapyRemote
mkdir build
cd build
cmake ..
make
sudo make install
I also decided to install the remote component on the Red Pitaya, just the same way as given above.
Please check the following link for instructions:
https://github.com/pothosware/SoapyRemote/wiki
The detection should work then on the Raspberry Pi with the following command. Note that the IP 44.225.41.10 is our Red Pitaya.
SoapySDRUtil --probe="driver=redpitaya, addr=44.225.41.10"
giving the following result:
######################################################
## Soapy SDR -- the SDR abstraction library
######################################################

Probe device driver=redpitaya, addr=44.225.41.10

----------------------------------------------------
-- Device identification
----------------------------------------------------
  driver=redpitaya
  hardware=redpitaya

----------------------------------------------------
-- Peripheral summary
----------------------------------------------------
  Channels: 1 Rx, 1 Tx
  Timestamps: NO

----------------------------------------------------
-- RX Channel 0
----------------------------------------------------
  Full-duplex: YES
  Supports AGC: NO
  Stream formats: CF32
  Native format: CF32 [full-scale=1]
  Full gain range: [0, 0] dB
  Full freq range: [0.05, 60] MHz
    RF freq range: [0.05, 60] MHz
  Sample rates: 0.02, 0.05, 0.1, 0.25, 0.5, 1.25 MSps

----------------------------------------------------
-- TX Channel 0
----------------------------------------------------
  Full-duplex: YES
  Supports AGC: NO
  Stream formats: CF32
  Native format: CF32 [full-scale=1]
  Full gain range: [0, 0] dB
  Full freq range: [0.05, 60] MHz
    RF freq range: [0.05, 60] MHz
  Sample rates: 0.02, 0.05, 0.1, 0.25, 0.5, 1.25 MSps
3.2 Getting OpenWebRX to connect to the Red Pitaya
Since we now can access the Pitaya via a standard interface, it's time to configure OpenWebRX accordingly:
The following link will provide some partly applicable support:
https://github.com/simonyiszk/openwebrx/wiki/Setting-up-OpenWebRX-on-a-Raspberry-Pi-2
This is also helpful:
https://forum.redpitaya.com/viewtopic.php?f=8&t=1911
And this is extremely helpful:
https://github.com/pothosware/SoapySDR/wiki
Even though I don't know for now if the SoapyRemote was really necessary, I was able to find the pitaya with the command
SoapySDRUtil --find="driver=redpitaya, addr=44.225.41.10"
Now it's necessary to inject this kind of configuration into the OpenWebRX config.
