Red Pitaya Remote Receiver Station: Unterschied zwischen den Versionen
Aus DL8RDS Wiki
Dl8rds (Diskussion | Beiträge) (Die Seite wurde neu angelegt: „== Project Scope == The goal of this project is to set up a remote controlled shortwave receiver station that is connectable via HAMNET. == Component List ==…“) |
Dl8rds (Diskussion | Beiträge) |
||
| Zeile 13: | Zeile 13: | ||
* 2x Telegärtner Lightning protection: 2x 50 € | * 2x Telegärtner Lightning protection: 2x 50 € | ||
* 2x pigtail N-SMA: 5 € | * 2x pigtail N-SMA: 5 € | ||
| + | * DC DC Converter: 10 € | ||
* Chinese wideband preamplifier: 10 € | * Chinese wideband preamplifier: 10 € | ||
* FUNKAMATEUR preamplifier specially designed for Red Pitaya: 50 € | * FUNKAMATEUR preamplifier specially designed for Red Pitaya: 50 € | ||
| Zeile 24: | Zeile 25: | ||
* M3 spacers: 5 € | * M3 spacers: 5 € | ||
| − | Overall total: | + | Overall total: 529 € |
== Programming == | == Programming == | ||
Version vom 24. Juli 2017, 00:48 Uhr
Inhaltsverzeichnis
1 Project Scope
The goal of this project is to set up a remote controlled shortwave receiver station that is connectable via HAMNET.
2 Component List
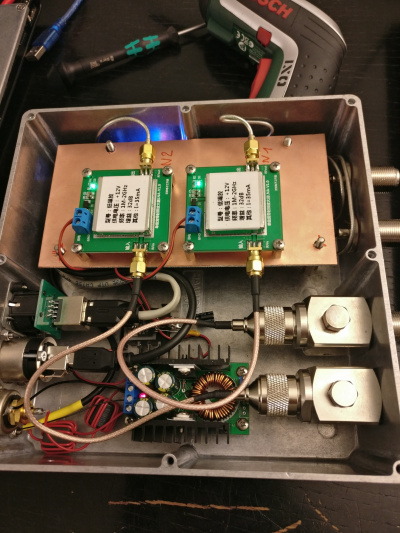
- Aluminium diecast case HAMMOND 1550F: 50 €
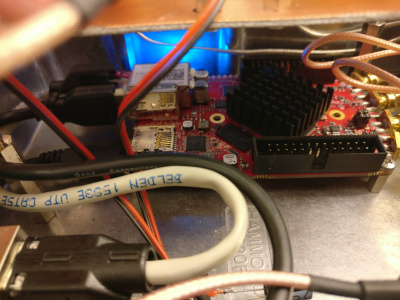
- Red Pitaya: 235 €
- Neutrik socket Cinch (power supply): 10 €
- Neutrik socket USB thru: 10 €
- Neutrik socket Ethernet thru: 10 €
- 25cm USB cable: 2 €
- 2x Telegärtner Lightning protection: 2x 50 €
- 2x pigtail N-SMA: 5 €
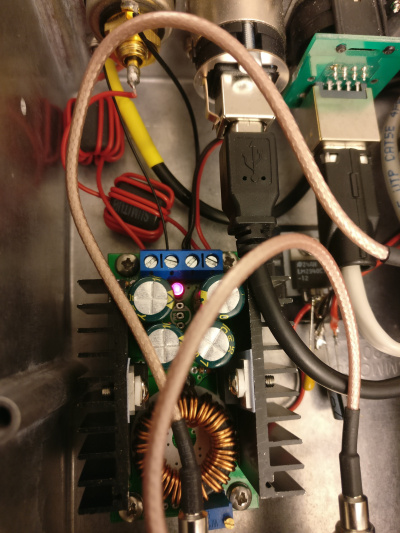
- DC DC Converter: 10 €
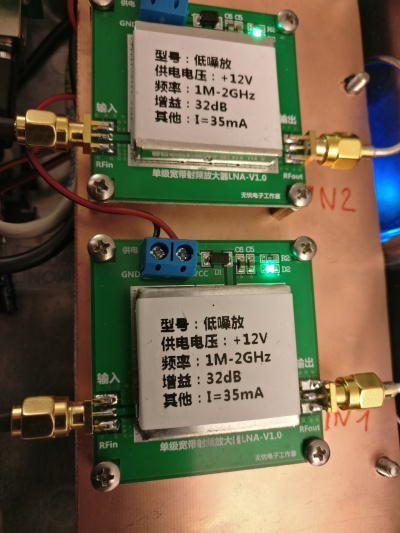
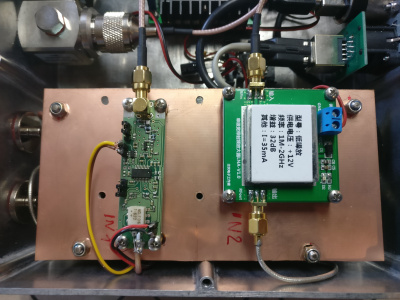
- Chinese wideband preamplifier: 10 €
- FUNKAMATEUR preamplifier specially designed for Red Pitaya: 50 €
- Teflon cable with SMA plug: 5 €
- Semi Rigid SMA/SMA: 5 €
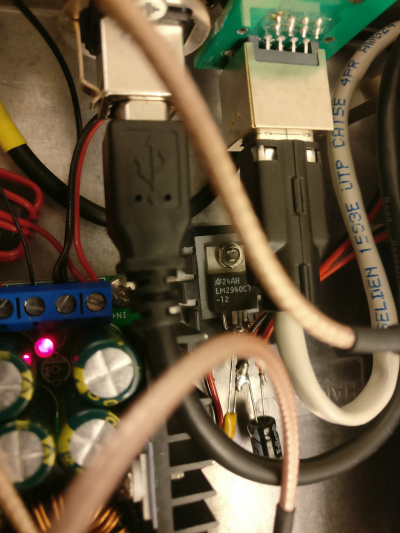
- Voltage Limiter IC for 12V: 3 €
- 2x Ferrite Core: 3 €
- 2x N socket with pigtail: 10 €
- 1 PCB: 1 €
- M4 spacers: 5 €
- M3 spacers: 5 €
Overall total: 529 €
3 Programming
TBD
