Icom BP-84 Repair
Inhaltsverzeichnis
1 Scope
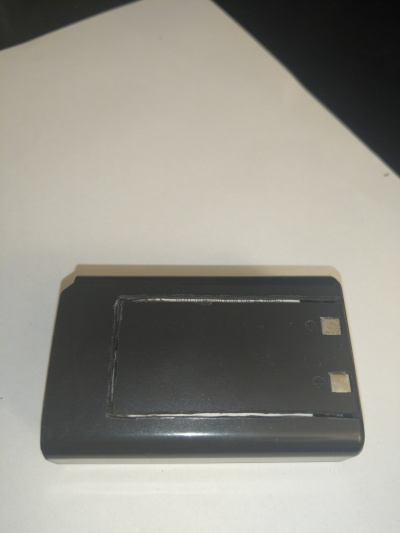
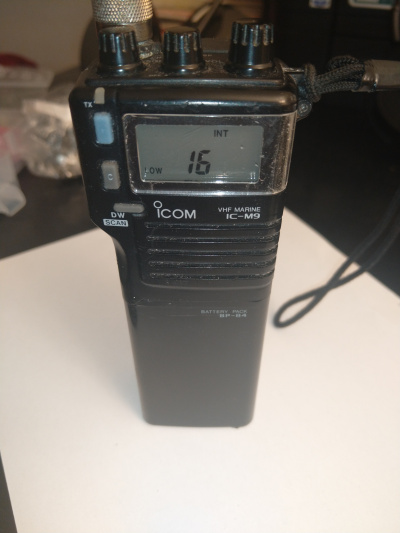
A close friend of mine is a navigator as I am, and he needed a handheld marine radio. I did have an ICOM M9 in my wonder box, however only the core device, without battery and without charger. So I purchased an Icom BP-84 battery from an Italian Ebay seller.
I expected at least some voltage, but it became clear that the battery was totally empty. When trying to charge it with my lab power supply at 7 volts, I expected at least some charging current, but there was none either. This was a clear indication that the battery must have been totally broken.
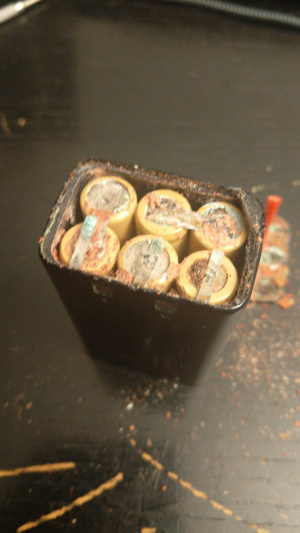
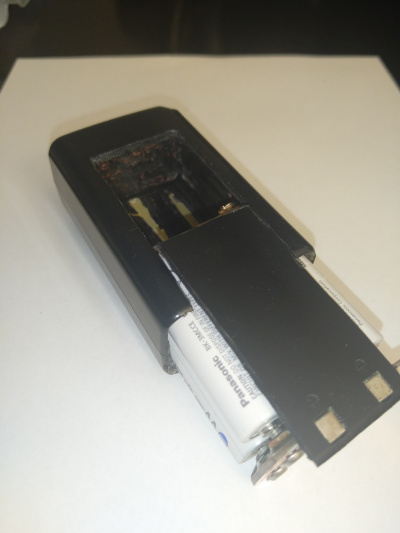
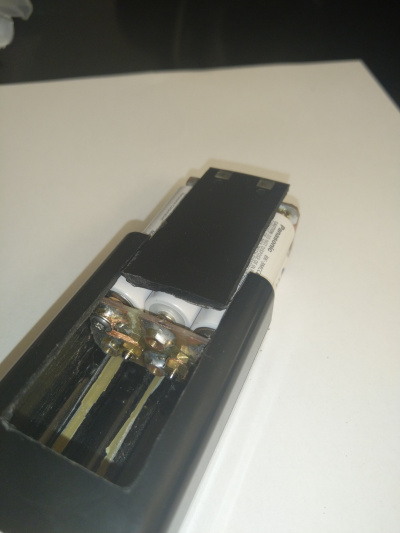
I opened the case at the bottom and found some red dry powder all around the battery cells, obviously electrolytic liquid dried a long time ago.
The option to throw it away was not an option, since these battery cases are hard to find these days, even though it could be a rewarding and interesting 3D printing project. So I decided to bring it to new life again.
The idea is to replace the old NiCd battery with a modern NiMh battery from Eneloop.
2 Useful Resources
- https://www.youtube.com/watch?v=HvZ5TBM4Mec An Asian guy having the same problem but with a Li-Ion solution.
- Datei:ICOM-M9-InstructionManual.pdf
- Datei:ICOM-M9-ServiceManual.pdf
- Datei:Eneloop-AA-Datasheet.pdf
- Datei:ICOM-IC2SET-ServiceManual.pdf - because the IC2SET is very similar to the IC-M9.
3 Components
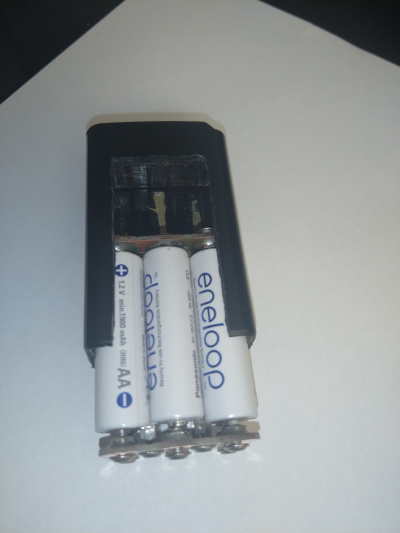
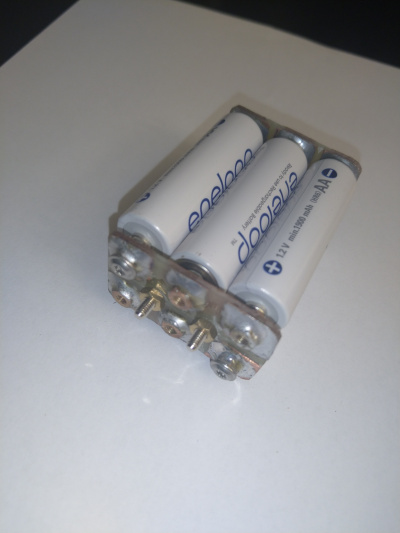
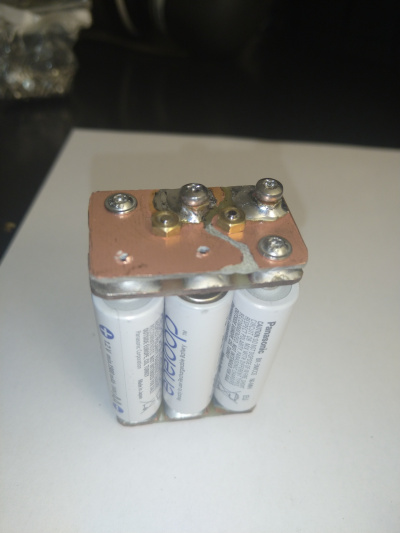
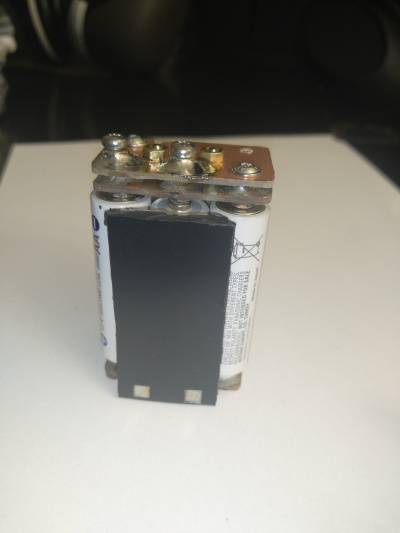
I chose to use six Eneloop AA NIMH rechargable batteries with a capacity of 1900 mAh. Since they would go in series to reach the 7,x volts, the final capacity would also be 1900 mAh, and thus nearly double the original capacity. The BP-84 is rated for 1000 mAh.
Other components were three small leftover double sided PCB boards and a great number of spacers and screws.
4 Concept
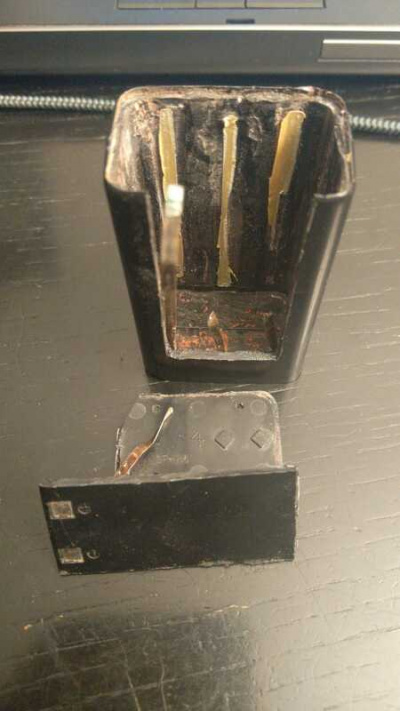
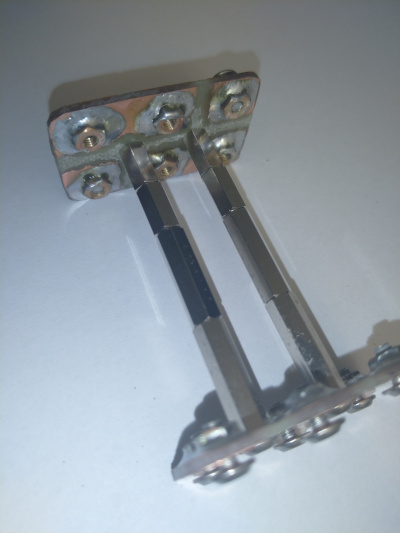
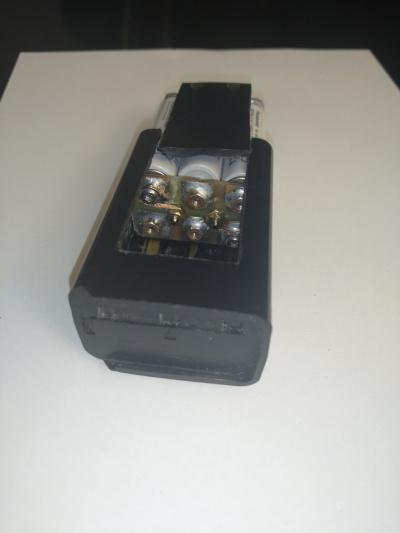
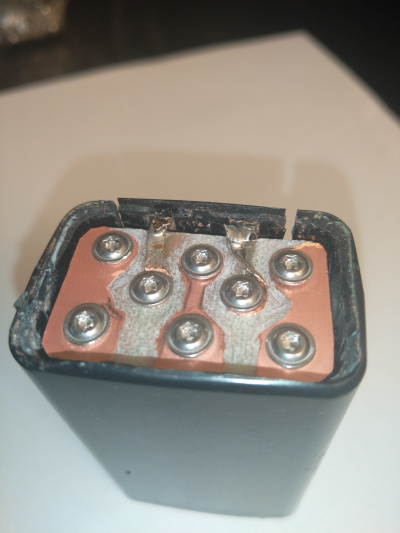
There are two main holder PCBs that are held apart with spacer pieces so that the batteries go in comfortably. I soldered small M3 brass screw nuts on the copper boards so that I could adjust the distance with the bottom screws and firmly and realiably connect the batteries.
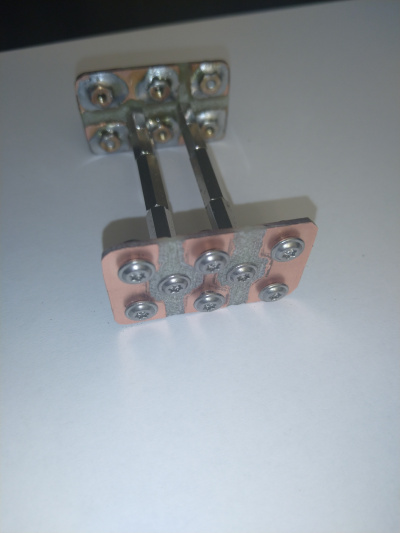
I used my Dremel grinder to cut off the excess copper, which was the fastest way to do it. The bottom board just puts the batteries in a series, while the upper board does the same, but also leads out PLUS and MINUS.
Another top board has two functions:
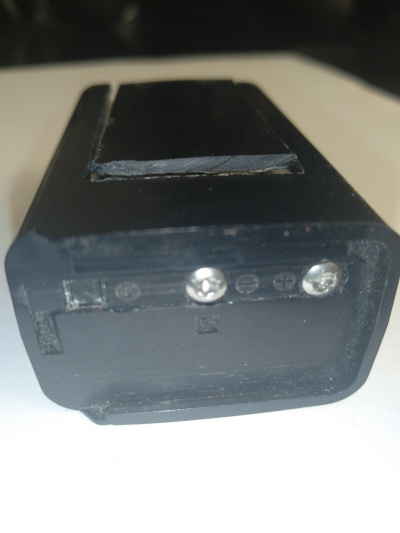
- Connect PLUS and MINUS with the two spacer columns that lead PLUS and MINUS to the bottom board, where the charging contacts are connected.
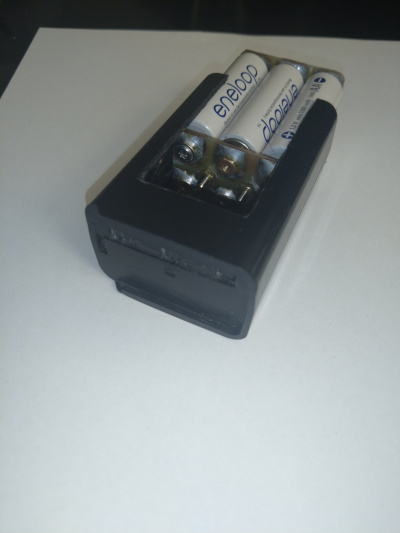
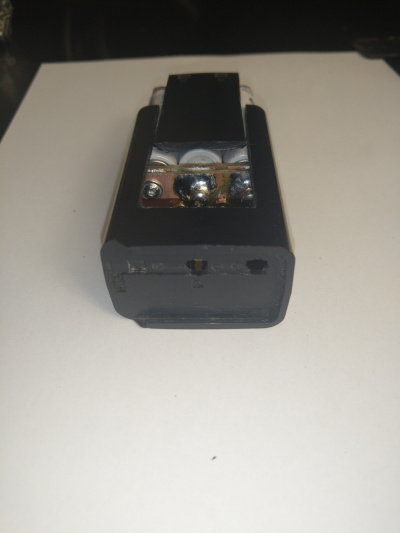
- While the lower side of the top board has all of the copper removed, the upper side holds two more M3 nuts, which carry a lense head screw each and which serve as contacts to the radio.
I could not find out what the third connection on the battery pack is good for. I tried the pack, and it works fine, so I just left it unconnected.
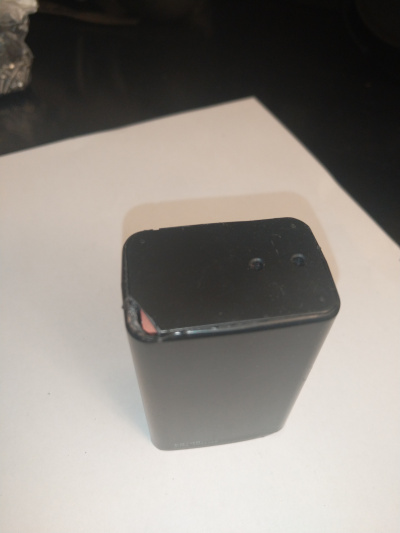
The final step is to seal everything. Considering what I wrote at the beginning: BP-84 cases are hard to get these days, so I won't seal it in a way that another battery service will not be possible. I chose black SIKAFLEX for this purpose.
