8 Port Passive PoE Injector, Managed and Fused: Unterschied zwischen den Versionen
Dl8rds (Diskussion | Beiträge) |
Dl8rds (Diskussion | Beiträge) (→Project Progress and Images) |
||
| Zeile 119: | Zeile 119: | ||
[[Image:2017-09-14-passivePoEInjector05.jpg|400px]] | [[Image:2017-09-14-passivePoEInjector05.jpg|400px]] | ||
[[Image:2017-09-14-passivePoEInjector06.jpg|400px]] | [[Image:2017-09-14-passivePoEInjector06.jpg|400px]] | ||
| + | |||
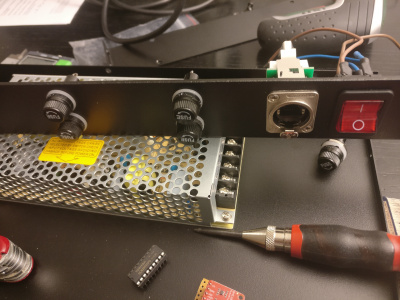
| + | Drilling and cabling starts | ||
[[Image:2017-09-14-passivePoEInjector07.jpg|400px]] | [[Image:2017-09-14-passivePoEInjector07.jpg|400px]] | ||
Version vom 8. Oktober 2017, 01:15 Uhr
Inhaltsverzeichnis
1 Project Scope
My parents' house is widely equipped with Mikrotik routers and other passive PoE powered hardware. So a centralized power distrution seems reasonable. However, passive PoE injectors like the one from Intellinet have one considerable problem:
They use a powerful PSU, capable of delivering a high current to a single port in case of a short circuit on the cable, inevitably causing a fire.
So I wanted to have a PoE injector that has a per-port fuse, however with remote diagnostic capability on broken fuses, as I can always easily ask my parents to exchange a broken fuse. I was not ale to find such a device on the market, so I built it myself.
Additional features:
- Web Interface
- Current port switching status
- Fuse status
- Syslog interface for event reporting
- Switching events
- Fuse failure events
- External powering (24V) from UPS / Battery
2 Component List
- SanDisk Micro Secure Digital (Micro SD) Speicherkarte 2 GB: Amazon: 9 €
- NEUTRIK Cinch Einbaubuchse, sw, NF2D0: Amazon: 12 €
- Neutrik NE8FDP RJ45 Durchgangs-Einbaubuchse, vernickeltes D-Gehäuse: Amazon: 9 €
- ah 19" Parts 87407V 19" Leergehäuse 1 HE mit Lüftungsschlitzen: Amazon: 44 €
- Netzdrossel: 5 €
- 10x Sicherungshalter: 25 €
- 8x Feinsicherung 500mA: 5 €
- Feinsicherung 1A, Feinsicherung 6A, 1 €
- Schrumpfschlauch-Set: 15 €
- Lochraster-Platinen: 5 €
- Stiftleisten, Buchsenleiten: 15 €
- 8x Injektoren: 30 €
- Beleuchteter Hauptschalter: 3 €
- Kabelführungen, klebend: 15 €
- Kabelbinder: 5 €
- Netzteil Meanwell 24V 150W (6,5A) MW LRS-150F-24: 25 €
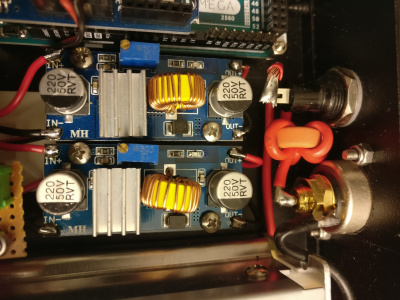
- 2x DC-DC-Spannungswandler: 10 €
- 14 Ringkerne: 15 €
- 8x bistabile Doppelrelais 5V: 80 €
- BME280 Sensor: 15 €
- Cinch Stromversorgungskabel: 5 €
- Kabelschuhe: 5 €
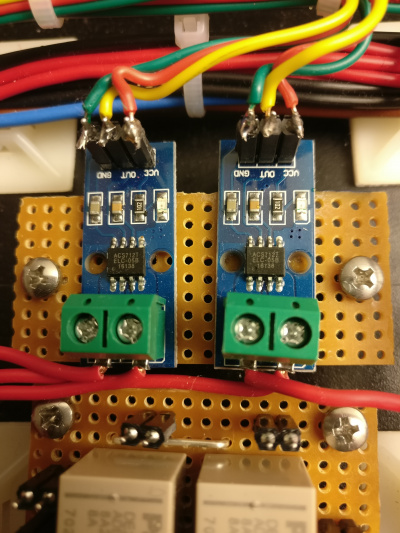
- 8x ACS712: 70 €
- 2x Gravitech 8 Channel ADC I2C: 20 €
- 20x R, 50 kOhm, 8x ZenerDiodes 4,5V: 5 €
- 1x PCF8575: 3 €
- 1x PCF8574: 3 €
- 1x Gravitech I2C-TRN: 10 €
- NanoPi Neo2
530 €
Datasheets:
- Datei:Gravitech-i2c-adc.pdf
- Datei:Pcf8575.pdf
- Datei:Pcf8574.pdf
- Datei:Uln2803.pdf
- Datei:Panasonic relay.pdf
3 References
- Reading a value from the I2C port with an Arduino - with a note why 0x48 and 0x90 are kind of related. You see that in sample code snippets on the Gravitech I2C ADC board.
- Talking to the network with an Arduino - with some notes on I2C
- Some really good information on how to access the PCF type port expanders: http://electronicsbyexamples.blogspot.de/2014/06/io-expander-pcf8574-with-raspberry-pi.html
4 Progress and Experiences
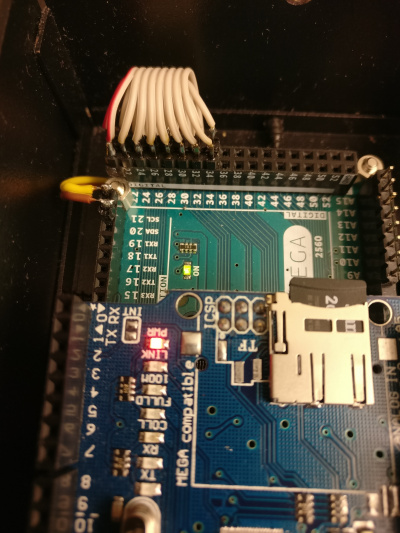
Once again my experience hit me hard that Arduino type controllers are only really good if their usage is exclusively related to reading out values. They don't excel very much as web platforms. Given that they are rather big compared to those recent NanoPi Neo type minicomputers, I have taken the decision to prefer them in any cases in which network programming is part of a project. There is no price advantage in an Arduino, but there is a lot of disadvantage in limited debugging flexibility.
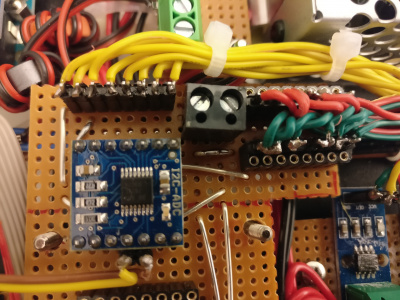
The I2C part was not so bad after getting the cabling right. After some time, all the "iC slaves were visible:
root@poeinjector:~# i2cdetect -y 0
     0  1  2  3  4  5  6  7  8  9  a  b  c  d  e  f
00:          -- -- -- -- -- -- -- -- -- -- -- -- --
10: -- -- -- -- -- -- -- -- -- -- -- -- -- -- -- --
20: 20 -- -- -- -- -- -- 27 -- -- -- -- -- -- -- --
30: -- -- -- -- -- -- -- -- -- -- -- -- -- -- -- --
40: -- -- -- -- -- -- -- -- 48 -- -- 4b -- -- -- --
50: -- -- -- -- -- -- -- -- -- -- -- -- -- -- -- --
60: -- -- -- -- -- -- -- -- -- -- -- -- -- -- -- --
70: -- -- -- -- -- -- -- 77
The addresses are:
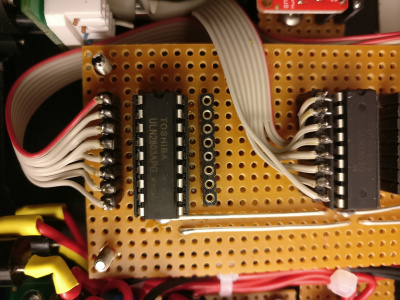
- 20: PCF8575 16 channel
- 27: PCF8574 8 channel
- 48: Gravitech I2C ADC based on TI ADS7828 http://www.ti.com/lit/ds/symlink/ads7828.pdf
- 4b: Gravitech I2C ADC based on TI ADS7828
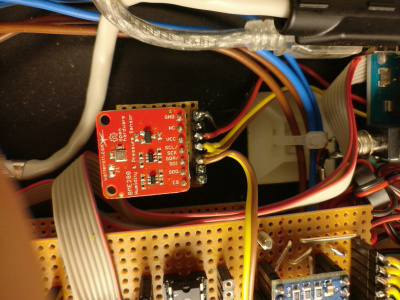
- 77: BME280 Bosch Environmental sensor
So since the relays are bi-stable / latching, I must not set both rows in the PCF7585 to ff, but only one at a time. And I can easily swith off power after the switching is done.
root@poeinjector:~# i2cset -y 0 0x20 0xff 0x00; i2cset -y 0 0x20 0x00 0x00
and correspondingly:
root@poeinjector:~# i2cset -y 0 0x20 0x00 0xff; i2cset -y 0 0x20 0x00 0x00
And reading out the relay state works like this:
root@poeinjector:~# i2cget -y 0 0x27
0x00
root@poeinjector:~# i2cset -y 0 0x20 0x00 0xff; i2cset -y 0 0x20 0x00 0x00
root@poeinjector:~# i2cget -y 0 0x27
0xff
5 Project Progress and Images
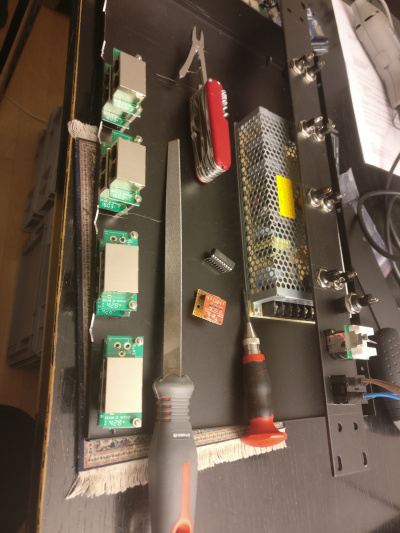
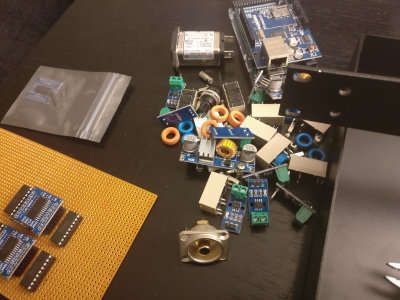
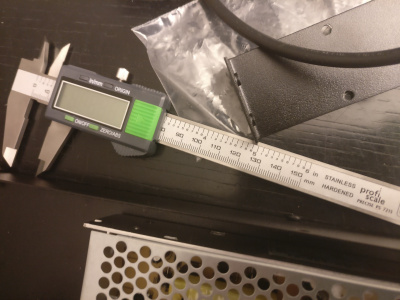
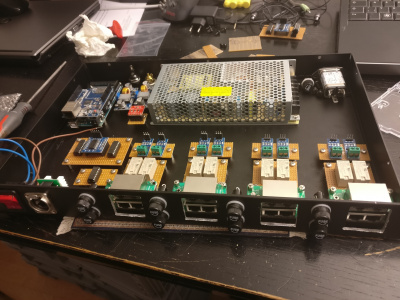
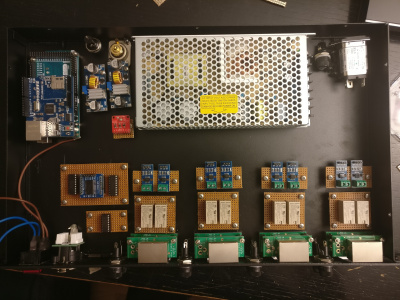
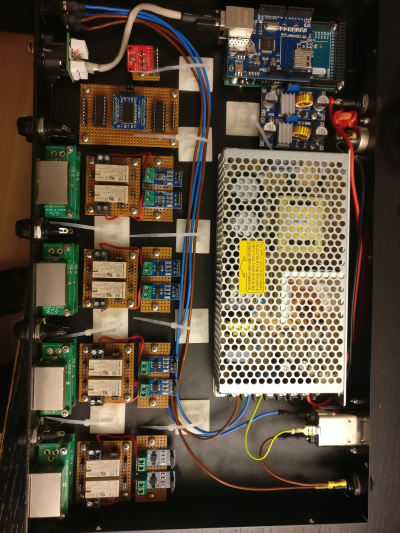
Trying to get a rough picture of the layout of the components.
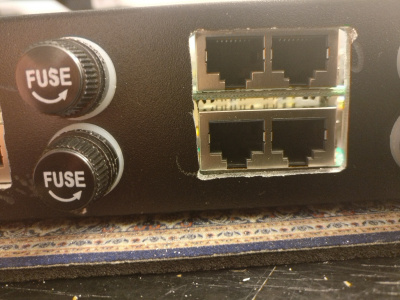
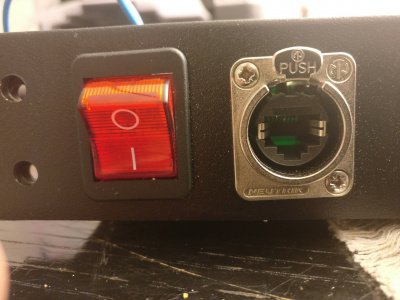
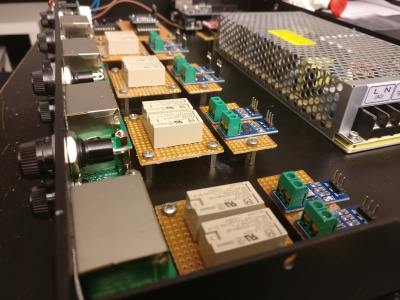
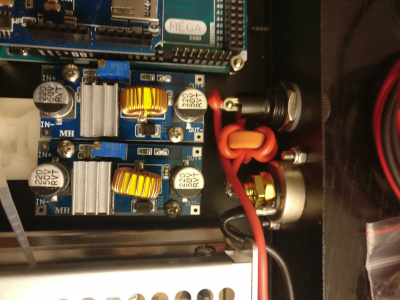
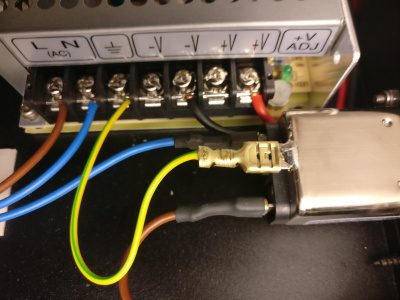
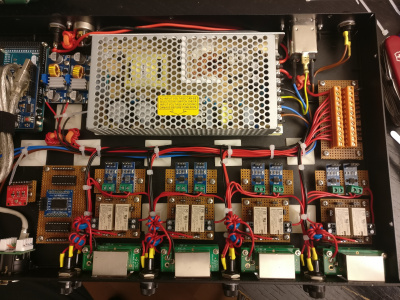
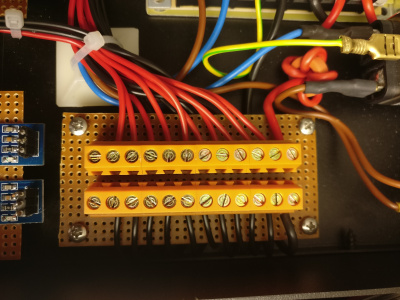
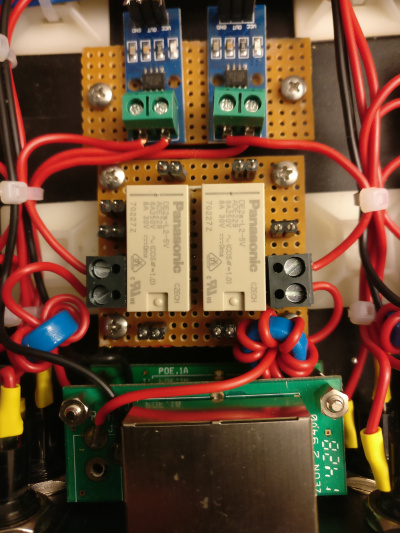
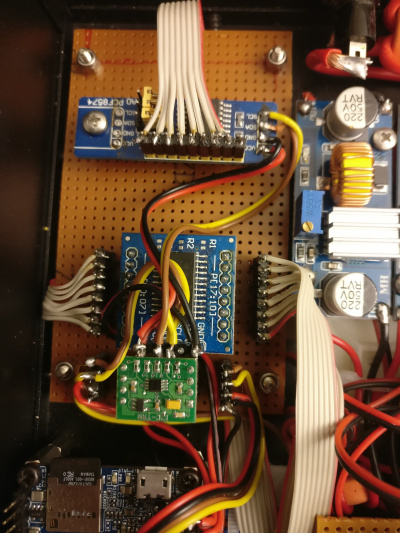
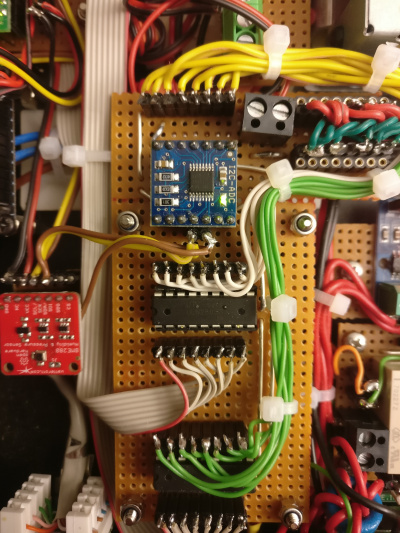
Drilling and cabling starts
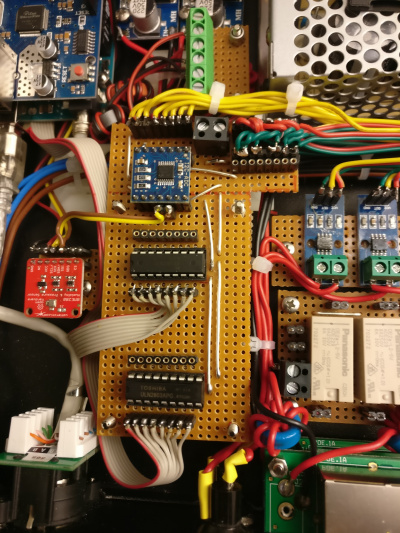
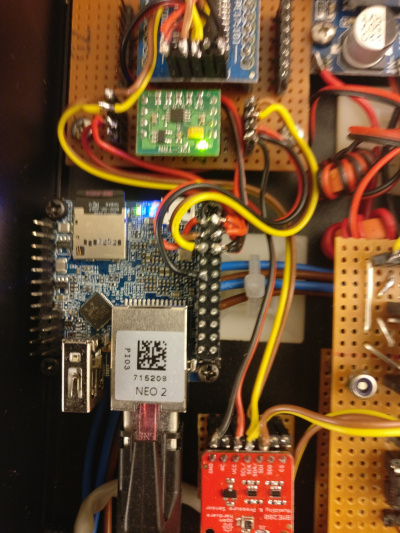
Now with the NanoPi Neo2:
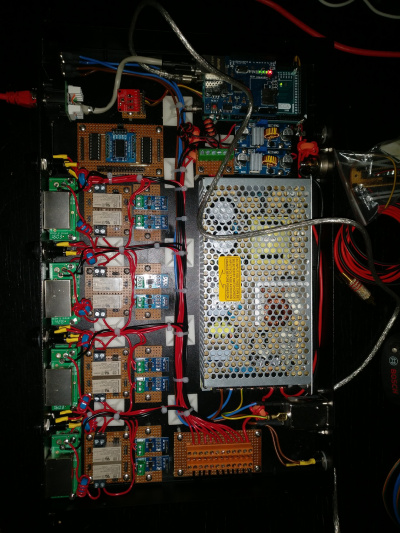
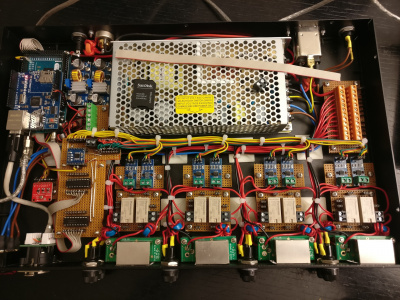
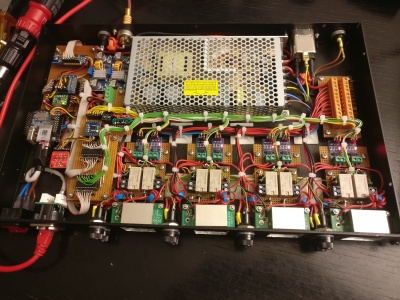
Project finished!
