Battery Change in a Kenwood TM-701E: Unterschied zwischen den Versionen
Dl8rds (Diskussion | Beiträge) (→Dismantle the front plate) |
Dl8rds (Diskussion | Beiträge) (→Change the Battery) |
||
| Zeile 52: | Zeile 52: | ||
=== Change the Battery === | === Change the Battery === | ||
| + | Make sure that it is a CR2032 type with 3 volts. Take a voltmeter and measure the voltage. '''Watch out to get the plus and minus assignmets right!!!!''' I don't know about the inner workings of that microprocessor, but wrong polation has destroyed expensive electronics frequently enough! Don't put your rig at risk!! | ||
| + | |||
| + | The little blue thing near the minus connection is a heat-contractible rubber ribbon. I decided to apply a little bit of that because the frame of the battery (which is +) and the bottom is quite close together. It's for protection against a shorting and discharging of the battery. I want the rig to go for another 20 years... | ||
=== Re-assemble everything === | === Re-assemble everything === | ||
Now you're done. Go the steps backward and reassemble the device. Connect to a power supply and check if it works. It should not forget things like the frequency settings again. | Now you're done. Go the steps backward and reassemble the device. Connect to a power supply and check if it works. It should not forget things like the frequency settings again. | ||
Version vom 19. August 2009, 02:10 Uhr
Inhaltsverzeichnis
1 Abstract
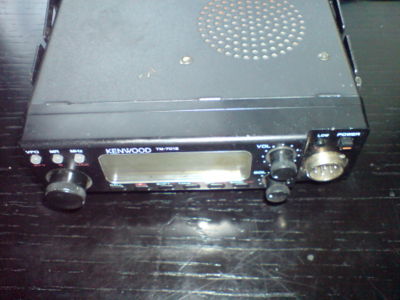
The Kenwood TM-701E is a dual band mobile transceiver for 2m and 70cm which has been built in the late 1980s and early 1990s. It has a microprocessor controlled user interface which retrieves its settings from a memory that is backed up by a small battery. Over the years, the battery finally depletes and must be substituted. Unfortunately, the manuals don't contain an instruction on how to do this, and so I did it and decided to publish the steps.
2 Symptoms
The rig looses all its settings whenever disconnected from an electricity source, and sometimes it also forgets its settings when simply switched off.
3 Hardware
- TM-701E - The instruction should apply for the American version (TM-701A) too.
- Battery: CR2032, 3V
4 Steps
4.1 Remove Mounting Bracket
Remove the mounting bracket if there is any
4.2 Remove top and bottom cover
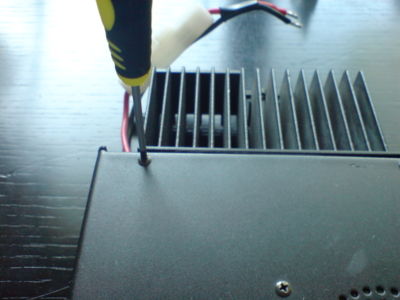
There are 6 screws that hold each of the two covers. Two to the rear of the case and 2 on each side for each part, mounting in four on the sides. Screw them out, but don't touch the screws of the loudspeaker. They should remain in place.
4.3 Unplug the Loudspeaker
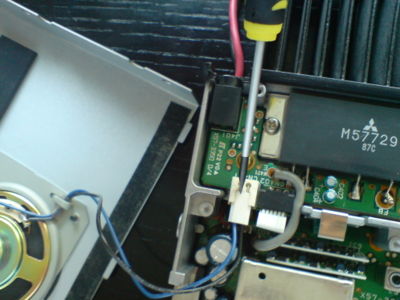
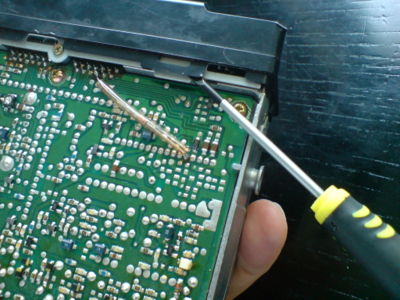
In order to facilitate everything, carefully remove the plug of the loudspeaker cables with a screwdriver in the way displayed on the picture.
4.4 Dismantle the front plate
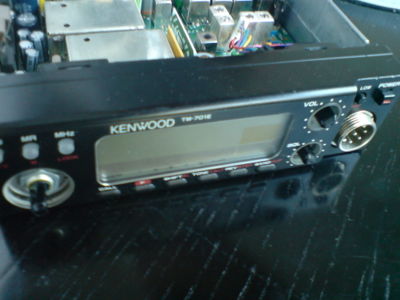
In order to dismantle the front plate, you first need to pull off the knobs. They can be pulled off to the front. It may be a little hard but don't use brute force!
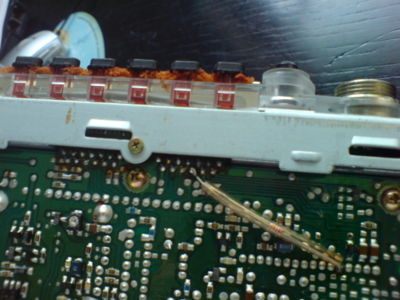
Then use a screwdriver to remove the front panel. You now see the transparent intermediate panel, which is fixed by a
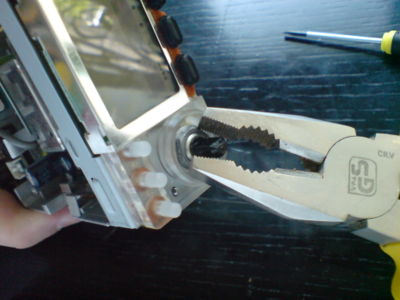
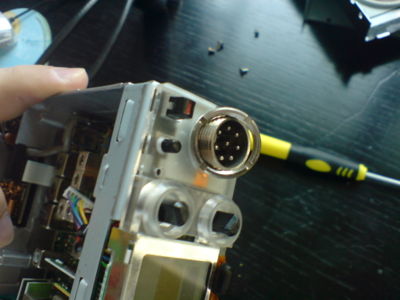
Then unscrew the nut of the frequency knob as well as the one of the microphone socket. Then gently pull the transparent plate off to the front. A metal frame should become visible.
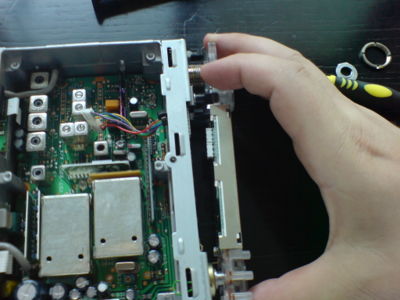
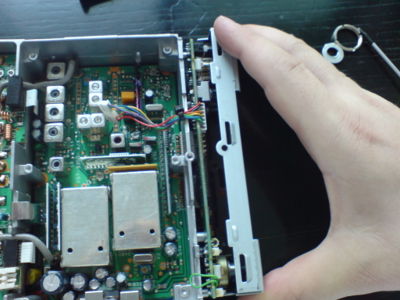
Now unscrew the four screws that are on each side of the rig and which hold the metal frame. Then also pull the frame off to the front.
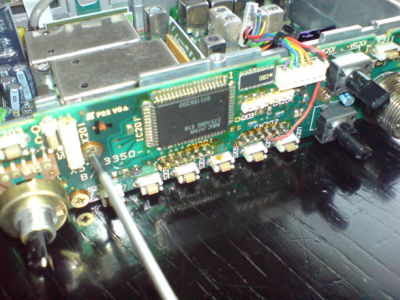
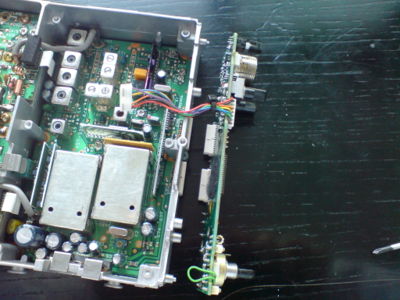
Now you're almost there. You now see the microprocessor board which is fixed to the rig by three screws that are right on the board. Unscrew them and then gently pull the board off the rig.
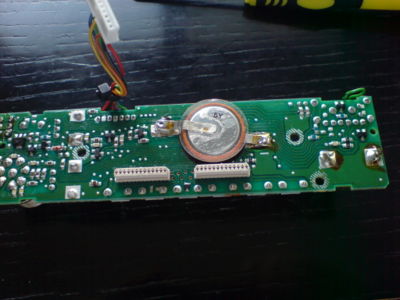
On the rear side of the microprocessor board, there's the battery that needs to be replaced.
4.5 Change the Battery
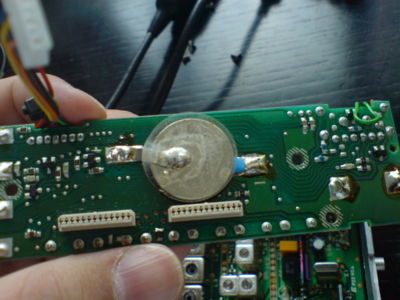
Make sure that it is a CR2032 type with 3 volts. Take a voltmeter and measure the voltage. Watch out to get the plus and minus assignmets right!!!! I don't know about the inner workings of that microprocessor, but wrong polation has destroyed expensive electronics frequently enough! Don't put your rig at risk!!
The little blue thing near the minus connection is a heat-contractible rubber ribbon. I decided to apply a little bit of that because the frame of the battery (which is +) and the bottom is quite close together. It's for protection against a shorting and discharging of the battery. I want the rig to go for another 20 years...
4.6 Re-assemble everything
Now you're done. Go the steps backward and reassemble the device. Connect to a power supply and check if it works. It should not forget things like the frequency settings again.
