Redesign of DB0BUL in 2019
Inhaltsverzeichnis
1 Scope
DB0BUL will see a major redesign this year. It will sum up several changes and innovations that have come over the past year:
- My insight that there is a big difference between SD cards with SLC, MLC and TLC technology, and that cheap SD cards will destroy many hours of work.
- Receiving Es'HailSat
- The redesign of the connection between the DB0BUL and my parents' house, away from a Mikrotik RB433 to a standard 60GHz connection
2 Node History
2.1 Intel Atom
Historically, DB0BUL was an Intel Atom computer that still consumed a lot of power.
The layout of the first stage of the project is described here: The Echolink Node DB0BUL
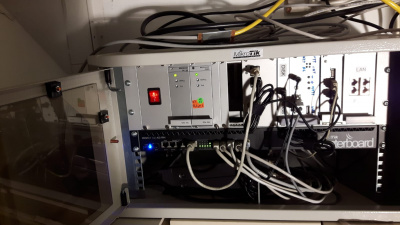
2.2 Redesign as a 19" rack
The wish to save power and costs resulted in the creation of a 19" rack with a Seagate DockStar based computer. It was the first kind of freely avalable embedded computer for a reasonable price that could be operated ob a Linux basis.
And also the sound card / Transceiver interface made it into a 19" rack based component:
2.3 Upgrade to a Raspberry Pi
After about 10 years of seamless operation, the node failed for an unknown reason, so there was an upgrade to a RaspberryPi based solution.
Unfortunately it didn't work for a long time, because I used standard off the shelf SD cards, probably TLC kind of devices. I promise you, I will never do that again!!!!
2.4 Upgrade to Odroid XU4Q
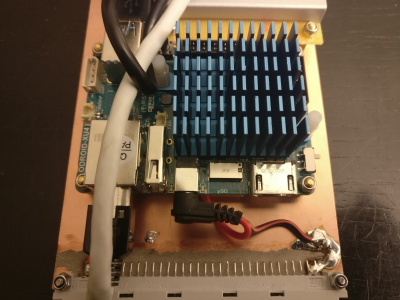
The Upgrade to an Odroid XU4Q was motivated because of my Es'HailSat Experiment: I wanted to provide a reception possibility for EsHailSat and make it available over our HAMNET node.
- The device itself is powered passively, so no fan: https://www.hardkernel.com/shop/odroid-xu4q-special-price/
- The device has 8 cores, so plenty of computing power. Since it is a bigLITTLE architecture, it will consume not that much power but be able to scale well if requirements rise accordingly.
- Generally it consumes quite a lot of power: 4A at 5V. This power requirement will lead to the exchange of one of the power supplies in my rack. Though, this is not a problem because the link to the main building will be powered through the RB2011.
- I am using an eMMC card with 16 GB and Ubuntu 18 preinstalled.
Details are here: https://magazine.odroid.com/odroid-xu4
I am using the pre-installed image as it comes, do some upgrades to the installed OS, but not invest that much time. The device will finaly have a fixed IP address inside of HAMNET:
https://hamnetdb.net/?q=44.225.41.35
and will be reachable as
http://db0bul.ampr.org
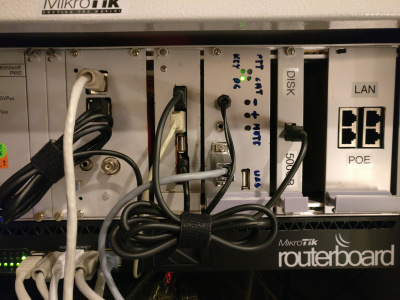
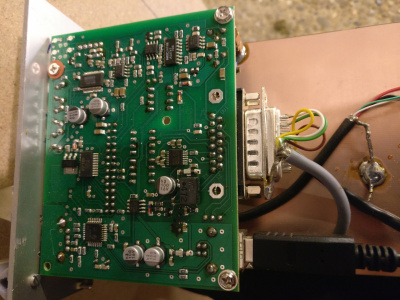
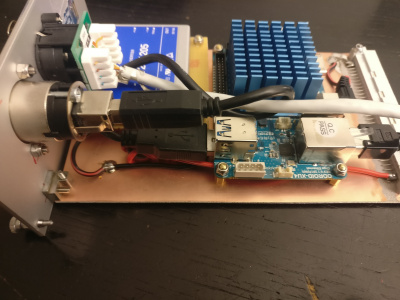
Powering this little device is qHere is the board that carries the mini computeruite challenging: Using a 2A standard USB PSU will not do, the power supply that comes with it is rated at 4A, so I decided to use some bigger DC converter to attach the computer to my 12V rail.
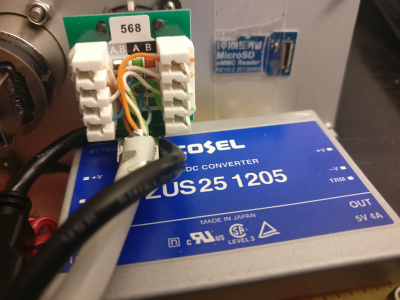
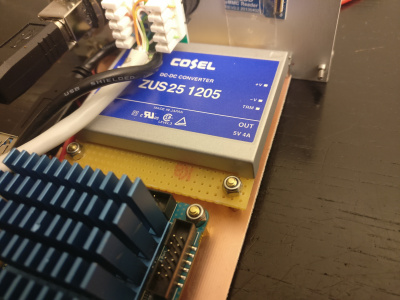
The DC converter I used is a Cosel ZUS251205 DC DC converter that is rated at 25 Watts (5 Amps @5V) and can work with an input voltage of 9-18 Volts. Here are the documents. I decided to host them because the converter is end of life at Cosel.
2.5 The Audio Interface
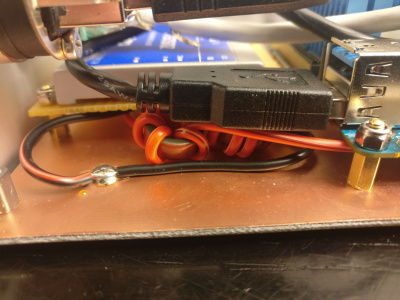
Note that I have just used one single USB3 connection to the front panel. In the moment I just have a USB 2.0 hub built in from mthe last hardware interation, but since the rack is so modular, it will be super easy to replace it with a USB 3.0 kind of counterpart.
I guess I will try this one...: https://www.amazon.de/dp/B00JX1ZS5O
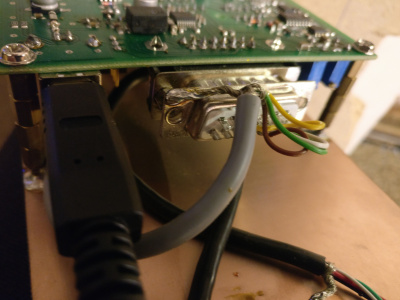
Since the standard interface to the front is USB, I am also using the other standard USB devices such as the transceiver interface for Echolink.
