A Low-Power Combined Echolink and ATV Server
Things evolve, and after initial attempts to set up an Echolink relay on basis of OpenWRT, I decided that porting the SVXLink software is a little too time-consuming. And since Intel's ATOM CPUs are available now, it seems reasonable to choose one of those and charge the machine with some more jobs. For this reason, I decided to build some hardware for this scenario:
- act as an Echolink node to let me speak to my buddies from DB0MHB on our working frequency 144.510 MHz.
- record video transmissions from DB0MHB, convert them into something you can stream over the internet and act as a streaming server.
- provide mass storage and act as a playout server for ATV.
- consume as little power as possible to allow permanent cost-efficient operation
This project is a supertarget of the following projects / items, while absoleting some of them.
- Setting up a remote, electrically independent, low power EchoLink relay
- Porting SVXLink to OpenWRT - given up. Using standard Linux instead.
- Building a Linux Ubuntu package of TheLinkBox
- Compiling a TheLinkBox package for OpenWRT - obsoleted
- Compiling a Hamlib package for OpenWRT - obsoleted
It makes use of the following hardware:
First measurements show that the IB882 using the 530 series Intel ATOM CPU is power-savong, but less than you'd expect. Marketing people said that the power consumption was just at around 4 watts, but this is probably only true for the CPU itself. The rest of the board also consumes some power, and that's quite a bit more than the CPU itself. I measured a current of around 1 Ampere, making about 13,8 Watts total. This, given that the Hauppauge PVR is not yet connected!
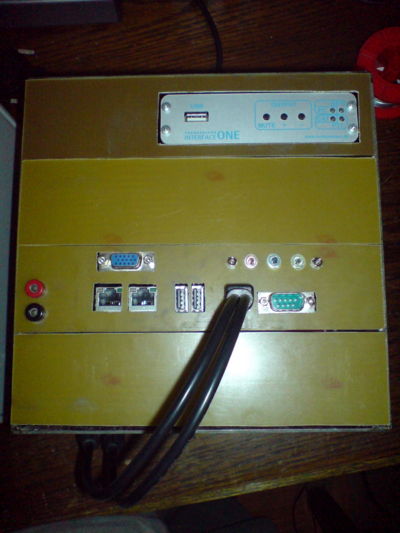
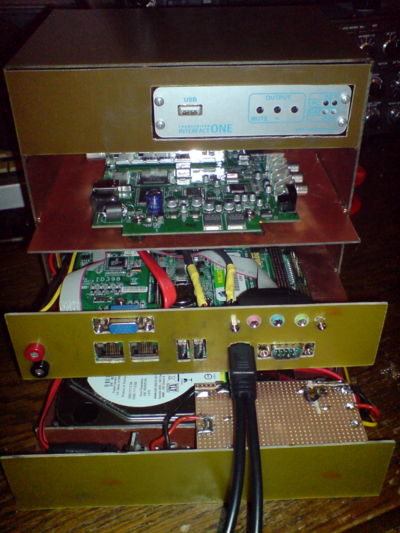
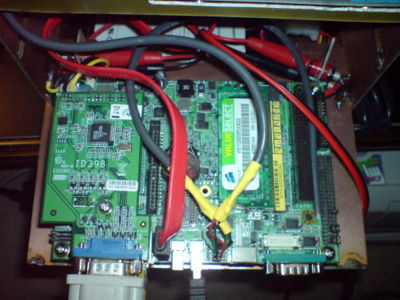
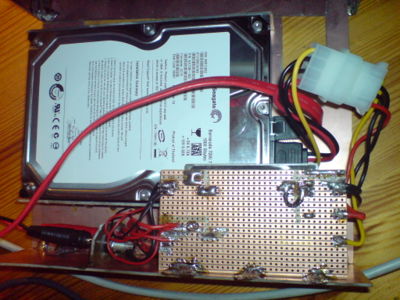
At least, I already built a nice case that will hold the boards. This time, I didn't build a single case for each board, but since several components demanded some housing, I decided to build a big case for four components at a time. In order to keep everything modular and support easy maintenance, I used small U-profiles from RC model construction that allow me to slide the boards in and out. Here are some photos. On the first photos, the connections are not yet completely ready. I still need to drill some holes and attach some sockets.
Connectivity
In order to connect the transceiver interface to the radio rig, I refer to the C5 standard:
- http://www.chaoswelle.de/CCCCC Chaoswelle Contest Crew Compatible Cabling
Stecker D-Sub 9 polig
pin 1 Ohr links
pin 2 Masse Ohr links
pin 3 Ohr rechts
pin 4 Masse Ohr rechts
pin 5 Masse PTT
pin 6 Mikrofon
pin 7 Masse Mikro
pin 8 +8V (Wenn verfügbar)
pin 9 PTT
Buchse am TRX, Stecker am Headset
In my scenario, I will mount two sockets to my upper section that carries the transceiver interface. One socket will go to the microphone input of the TRX, the other will go to the loudspeaker of my rig.


